
Supplies:
1 Yard**--Fabric A
1 Yard--Fabric B
2--1" D-Ring
16" of 1/4" Boning
Some sort of marking pen/pencil/chalk
**A yard of each of these will give you enough left overs to make a few pacifier clips, burp clothes and other little baby things.
Cut your main pieces:
Fabric A = 1 piece 35" x 24"
Fabric B = 1 piece 35" x 24"
Cut the straps:
Either A or B = 1 piece 3" x 10"
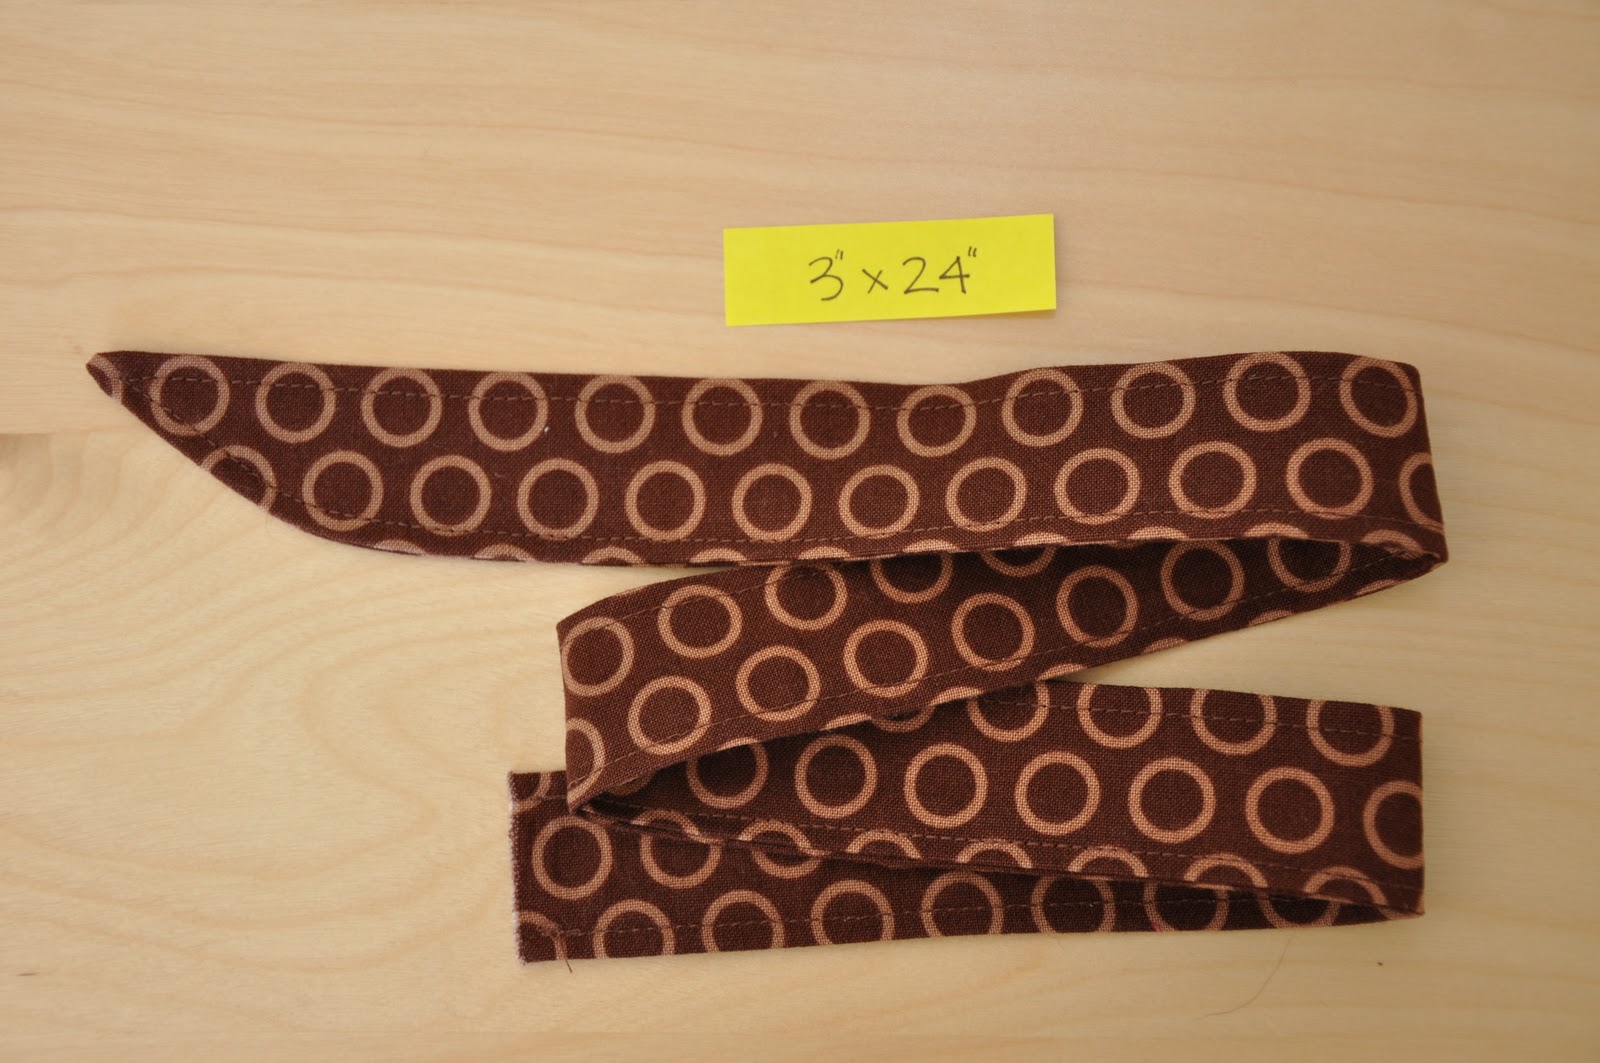
Either A or B = 1 piece 3" x 24"

Set the main pieces aside and work on the straps. Fold them in half, right sides together and iron flat.

Sew a 1/4" seam across the open edge of each. Don't worry about leaving the ends open. They'll be hidden so there's no need to finish them or make them look nice. On the long piece, curve the end. I drew a line on mine as a reminder. Curving the end makes it easier to put it through the d-ring later. Don't forget to backstitch on the ends to prevent your sewing from coming undone!

Trim the curved end so it's about a 1/4" seam.

Turn the pieces inside out and iron. For the 10" piece, I put the seam in the middle because it will be hidden. The 24" piece will have the seam showing but it's ok. You can go ahead and try putting the seam in the middle...let me know how it goes. (That's sarcasm. Don't do it.)

Then, take your D-rings and put them through the 10" piece, fold it in half and sew a 1/8" seam around the perimeter. This piece is done-zo!

Sew a 1/8" seam around the 24" piece and this piece is also finished! Set the straps aside and grab the main pieces.
Make sure the pieces are ironed and lay them right sides together. Pin on 3 sides, leaving a 35" side open. For the open side, take the boning and place it in the middle (on top of the fabric) and mark the ends. There's probably about 9.25-9.5" on either end of the boning depending on how well you cut the fabric and boning.


Take your straps and place them BETWEEN your fabrics with the edge of the strap against your mark. It doesn't really matter which strap goes on which side because this this is reversible. These pictures are actually a trick because the picture on the left shows you the left side of the cover...the mark is towards the center. The picture on the right is actually of the right side but I was just trying to show you the strap inside...you can't see the mark in this picture but it's on the left side of the strap...towards the center .


In this picture you can see mark and the white and blue pins are holding the strap in place.

OK! Now, sew! It should look like the pic below when you're done. Oh, so you're leaving the one side mostly open. Just sew over the straps and stop. I started sewing on the left side at the strap and went around (left and right according to the pic below) and stopped just after the other strap. Don't forget to backstitch!

Trim the corners (as in the pic above). Turn the project right side out and iron flat. I find that if you spray the fabric with water, it's easier to get the seams to pop out and you get better results.

All finished ironing!

Sew a 1/4" seam around the outside of the 3 closed sides.The top will be done later. I like to do it this way so when you're putting the boning in, you don't have to worry about stuff moving...you already know it's finished and in the right spot.

Now for the tricky part. Put your boning on the inside lip of the fabric that's on laying on the table and fold both fabrics in about 1/4". Secure it in place. I used binder clips and hair clips because pins don't work very well. The ends of the boning should be right up against the straps.


Sew a 1/8" seam to secure the boning in place. I usually sew from the outside edge of the straps just for extra security on them (but I forgot). Make sure you're catching the boning when you sew.

Last step! Sew a 1/4" seam on the top. And the rest if you didn't earlier. Guess what...you're done!


My first model was handsome but he moved a lot was was trying to lick the product.

**Special thanks to my husband who reluctantly posed and wore a breastfeeding cover for me.
Please let me know if something doesn't make sense. Post some pictures of your nursing covers...I'd love to see them!
This nursing cover was adapted from Freshly Picked. I don't take credit for thinking of this...I just make them for friends and this is my way of doing it.
the pictures are GOOD, it's bound to make it alot easier for people! & your models.. hilarious! Is it bad that I knew that was Craig the second I saw those pics? haha good job lisoo!
ReplyDeleteThanks! I've been trying to find a good tutorial on a 2 sided cover!
ReplyDeleteI love the reversible idea but if the boning only arcs out one direction how do you use it on both sides?
ReplyDeleteGeorgia,
ReplyDeleteThe boning flips either way...which makes it hard to sew on! When you turn it to the backside it just bends the opposite direction!