Supplies:
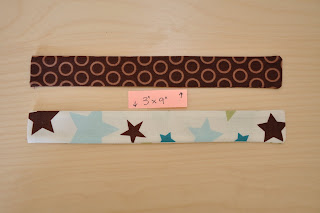
1 Piece of fabric 3" x 9"
1 Mitten clip
7" of 5/8" Ribbon (Grosgrain works best)
Coordinating thread
Instructions:
Cut your fabric.
Turn right sides together and pin. Fold down one end about 1/4". This makes it look nice after you turn it.
Sew three sides. Leave the end you folded over open. Trim the corners.
Make sure you catch part of the fold so it doesn't come undone when you turn it.
Turn the tubes inside out and iron flat.
Take your ribbon and fold in half. Sew into the opening. Sew a tiny seam around the entire thing. I add a small stitch across the top right next to the ribbon just for security purposes (not shown). The grosgrain ribbon works best for putting through pacifiers with tiny holes (soothies) but if you're using a pacifier with a loop, it doesn't matter what kind of ribbon you use.
Take your mitten clips and sew them on. Make sure when you fold the end over the bottom of the clips are facing the part you're folding over. I sew across and then up the 2 sides, following the other seams.
The top side.
Clip it on! You can also put this on toys or whatever so it doesn't fall on the ground. You could also put a clip on each end so you can attach blankets and stuff to the stroller/carseat/kid...whatever you like!
If you put clips on both ends you can attach a blanket or burp cloth to the carseat or a shirt. This was very useful when I was walking through the airport w/ a burp cloth on my shoulder. It inevitably slipped off my shoulder but didn't fall on the floor b/c of my double clip!


